
Going to the hairdresser for a trim can be quite pricey, especially in the UK, but going for your monthly hair colouring session can literally cost you an arm and a leg. This is not a joke! I remember the first time I wanted to book an appointment with a hairdresser in the UK. After I narrowed down the numerous hair salons in my area, I went to their price lists and I nearly had a heart attack! You have so many options to choose from – from high lights to low lights, from tint to semi-permanent tint. Then it all depends on whether you’d like to colour all, half or part of your hair. And, wait, that’s not all! The pricing depends on how long your hair is and whom you’d like to colour your locks. It could literally cost anything from £20 to hundreds! Also, the horror stories of unfortunate hair dye sessions I’ve heard over the years weren’t helping either. In the end, I wasn’t, and I’m still not, prepared to give so much money to get my hair coloured at a salon. Thus, I thought I would do a post on the permanent and semi-permanent hair dyes I’ve tried over the years. Hopefully, this would help any other poor souls out there who wouldn’t want or simply can’t afford to get their hair dyed by a professional.
Garnier Nutrisse Permanent Hair Dye
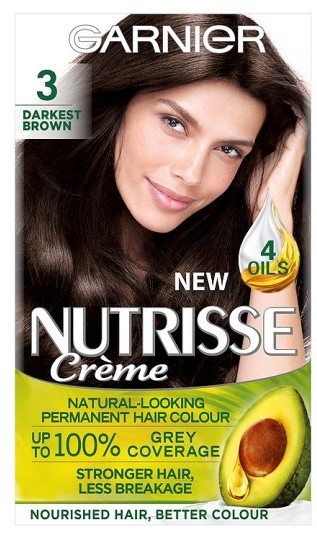
I’ve always heard such amazing things about Garnier, so I thought I should try the Garnier Nutrisse Permanent Hair Dye. Not only did it promise 100% grey coverage, but it also guaranteed you long-lasting and nourishing hair results for up to 8 weeks. Oh, it was also advertised by Fearne Cotton. Yes, I know she’s blonde and I’m far from that colour range, nevertheless, she has pretty great voluminous locks! Hoping for the same results, I bought two of the Garnier Nutrisse Hair Dye in the shade Darkest Brown. I’m saying two because my hair is very long and one bottle usually covers everything up to my shoulders. For those of you who haven’t dyed their hair at home, the box usually comes with a pair of gloves, a developer cream, a colour cream and a conditioner.
You mix the colour cream with the developer and shake the bottle until the colour of the mixture looks even. I followed the instructions for an already dyed hair and waited around 30 minutes for the miracle results to happen. After I washed, dried and styled my hair I went outside to see the results in daylight They were pretty great and the colour looked more or less as advertised. However, it didn’t last 8 weeks. After the second hair wash, the colour was already lighter and I could see the odd grey hair here and there. Overall, it worked fine but I wouldn’t buy it again as I’m not prepared to dye my hair every 3 weeks.
L’Oreal Paris Excellence Hair Dye
Another hair dye I’ve tried is the L’Oreal Paris Excellence Hair Dye in shade Natural Dark Brown. By this stage, I’d read so many articles, blog posts and reviews that stated you should always opt for natural when it comes to shades, that I was scared to get anything else! Long story short, I got my two boxes of the L’Oreal Excellence Hair Dye and went straight to the bathroom to dye my hair. Each box came with all the usual products plus a serum that you apply to your ends to protect them from getting darker than your roots. For the inexperienced, when you colour an already dyed hair, your roots (new hair!) need a longer time to absorb the colour while the rest of your hair will get coloured twice as fast.
Anyway, I coloured my hair, followed all of the steps and waited for the results. They weren’t great. First of all, the colour turned out super dark, almost black, and there was nothing natural about it. Secondly, my hair smelled horrible, even after two washes. Finally, the promised rich, long-lasting colour was there for only two weeks. In the end, my roots took a horrific red-ish colour and I had to dye them again. So my experience with the L’Oreal Paris Excellence Hair Dye wasn’t excellent at all and I wouldn’t recommend it to any brunettes!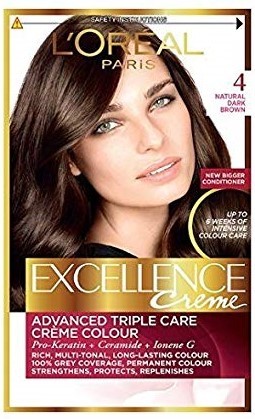
John Frieda Precision Foam Colour Hair Dye
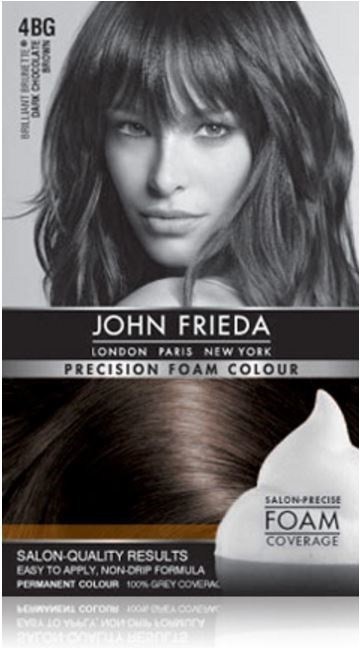
You would think that by now I would have given up on dying my hair at home, right?! Well, no, I wasn’t ready to give up yet as there were more dyes to try and I was pretty sure I was getting close. This time I thought I should take a slightly different approach and try out a foam dye! Yes, there is a foam dye and it is the John Frieda Precision Foam Colour Hair Dye in the shade Dark Chocolate Brown. Promising locks in rich salon-quality colour, I took the plunge and got two boxes.
You would think that applying foam might be trickier and would have a lot more instructions, however, that’s far from the truth. There were two different steps: one – after you put the colour into the developer, you need to tilt the bottle not shake it, and two – you just apply the foam all over your hair and massage it just like a shampoo. Okay, I thought, easy peasy! I followed the instructions, etc., etc., and the colour was amazing! It really looked like salon-quality, not that I know but I would imagine that is how a salon-quality colour should look like! Everything was great until I washed my hair a couple of days later… The colour was gone! Just like that, like I hadn’t dyed my hair! I could see the greys and everything… So, no luck with John Frieda either!
Clairol Nice’n Easy Permanent Hair Dye
Okay, people, this is the review you’ve all been waiting for! The only hair dye that actually delivers the results it promises. And, no, this is not a sponsored post and I haven’t received a commission from Clairol. I’m just a pleased customer and wanted to share my experience with the Clairol Nice’n Easy Permanent Hair Dye. I’ve tried multiple shades from the brand, but the colour I keep going back to is the Medium Dark Brown.
To be honest with you, the colour is always a shade or two darker but it goes lighter after two washes and stays like that for up to 8 weeks. I only need to dye my hair once my roots grow out, which is usually within 3 months, and one box is more than enough to cover every single hair! The Clairol dye doesn’t dry out my locks and the conditioner which comes in the box is very nourishing and will last you up to 4 washes. After that, you’ll have to use a colour-protect conditioner and take care of coloured hair as you would normally do. Nevertheless, Clairol Nice ‘n Easy is the only hair dye that hasn’t disappointed me and I would highly recommend it! [/ts_one_half] [ts_one_half] 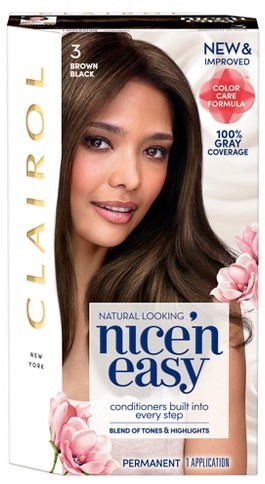
Hopefully, you now know which hair dye to get. Also, let’s get one thing clear – if you want high lights, ombre, or any other colour that involves a mixture of multiple colours, then I wouldn’t recommend dying your hair on your own! Yes, secretly you might be a professional and do an amazing job, but what are the odds, right?! Hence, you should always seek professional help, even if it costs you an arm and a leg.
Psst! Check out the hair category for even more hair tips and products reviews!
YOU MIGHT ALSO ENJOY:
Redken Color Extend Magnetics Duo
3 Products To Bring Your Heat-Damaged Hair Back To Life